What's inside a canopy.
Clean metal on the outside, a properly engineered build underneath. Here's how each canopy is made and fixed.
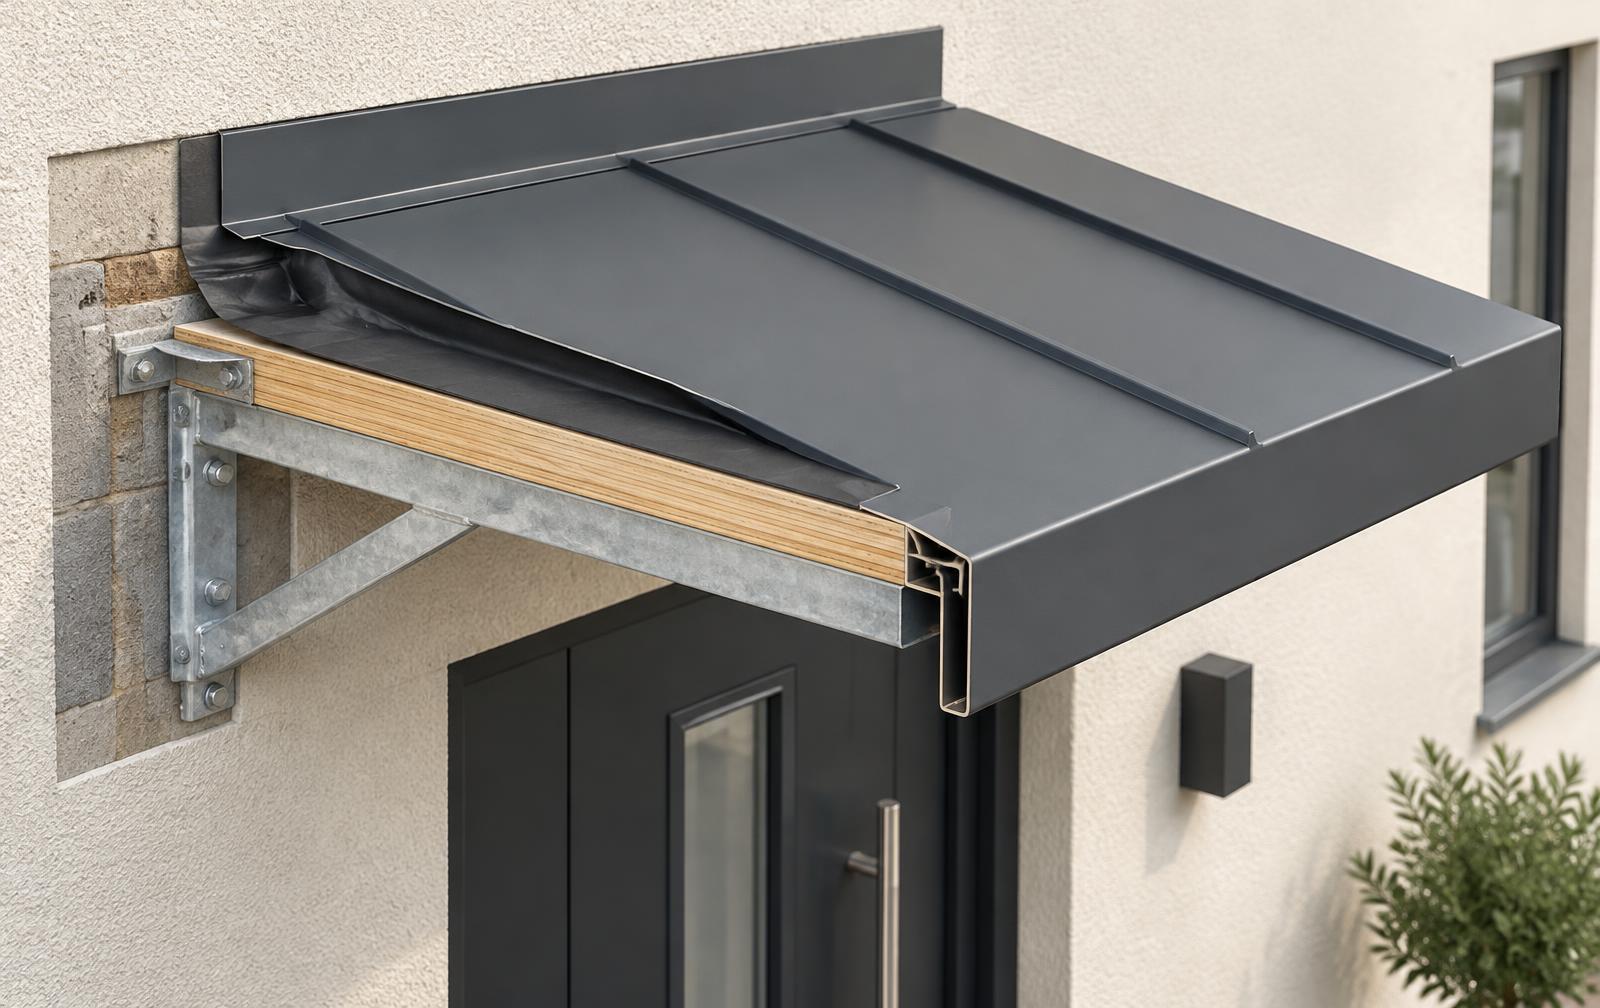
The layers
Five layers, one clean finish.
Hover or tap a layer to see what it does.
Cross-section
How it meets the wall.
Diagram not to scale. Exact build-up and fixings are confirmed per project.
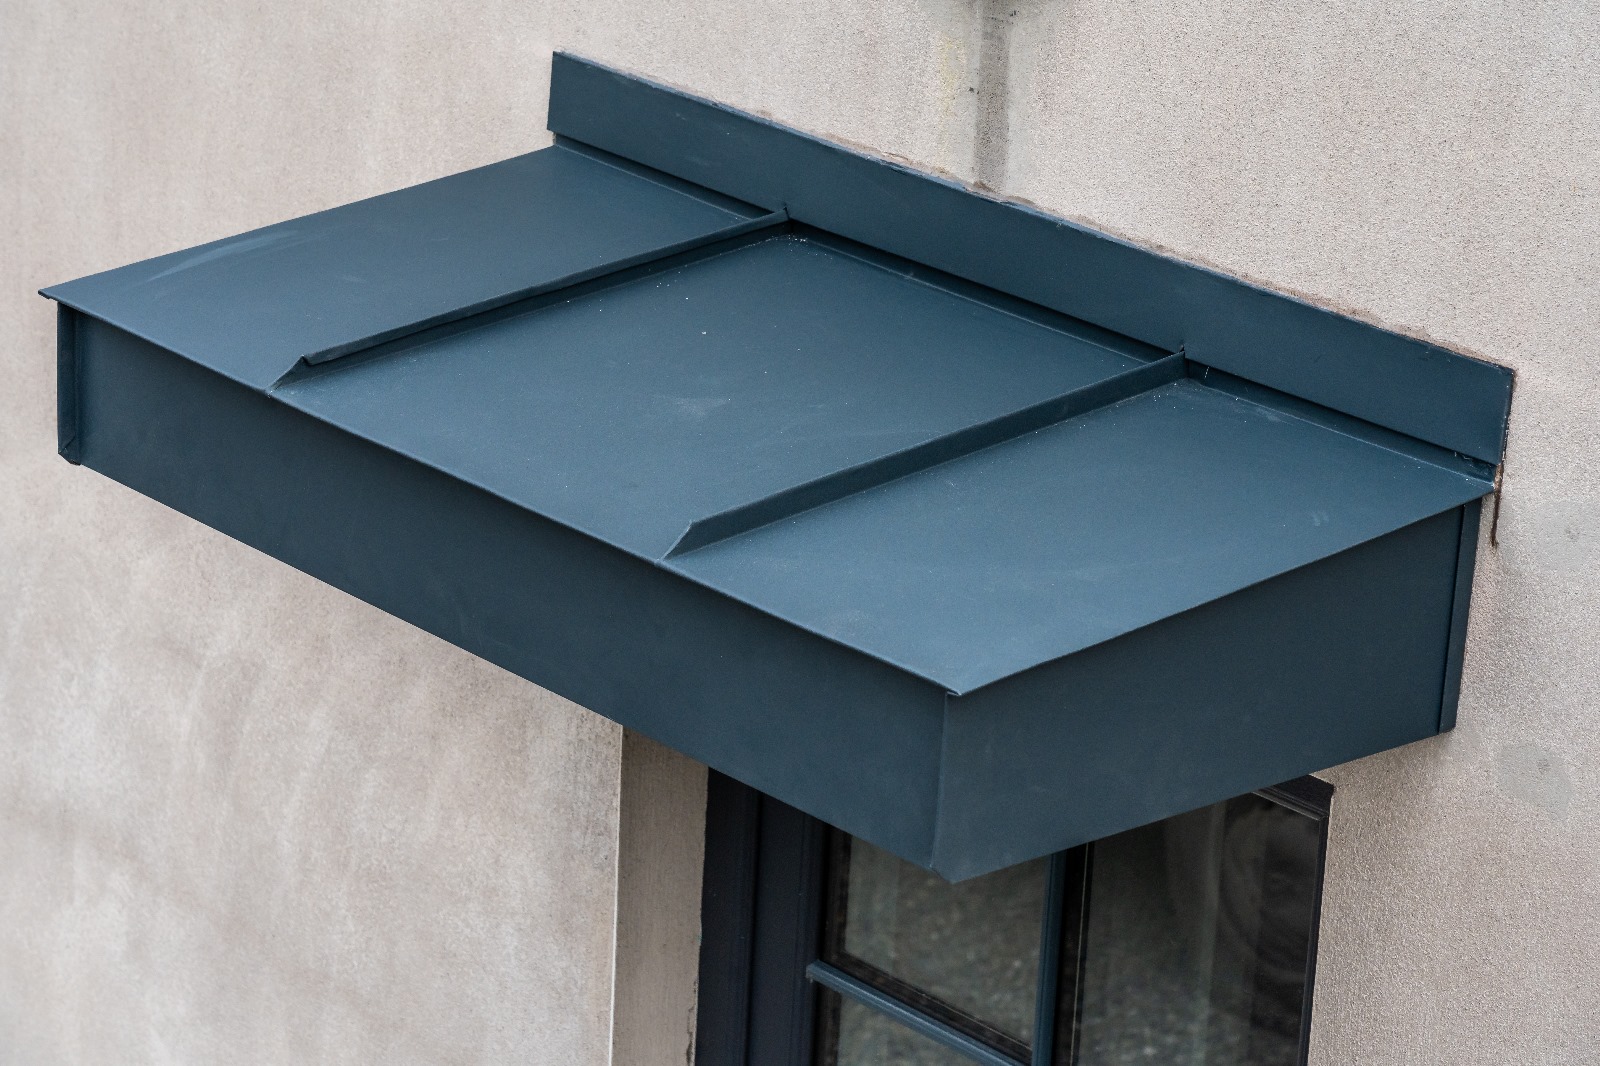
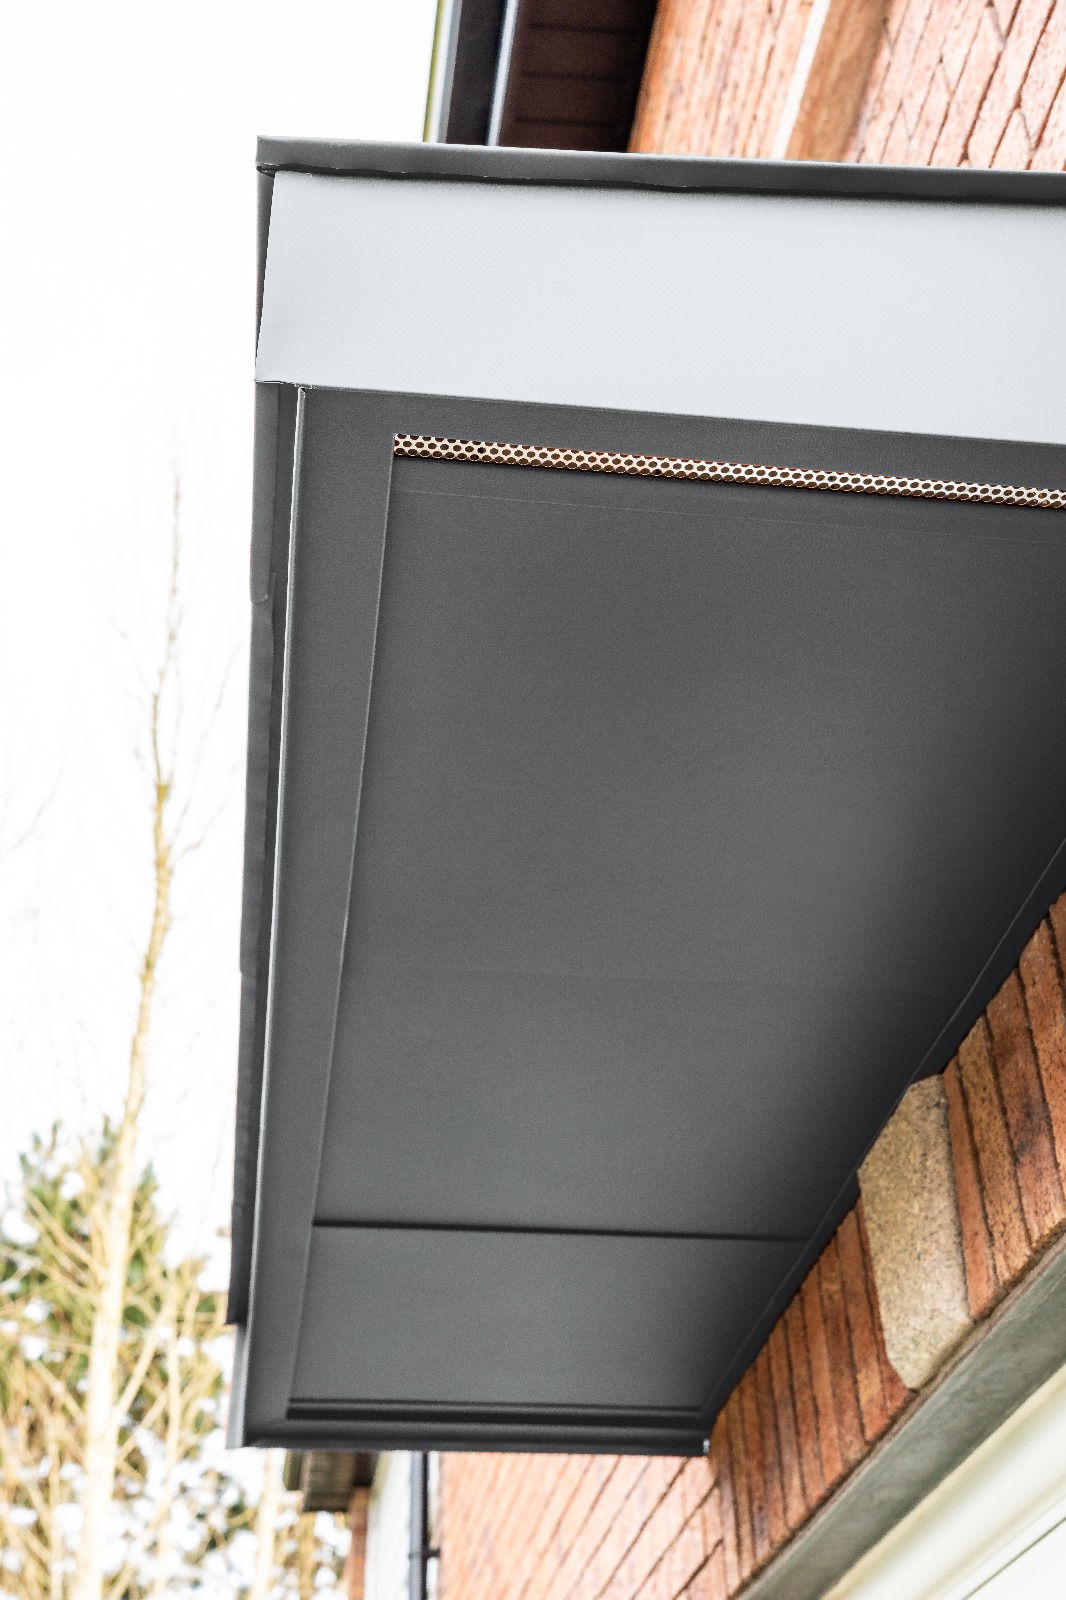
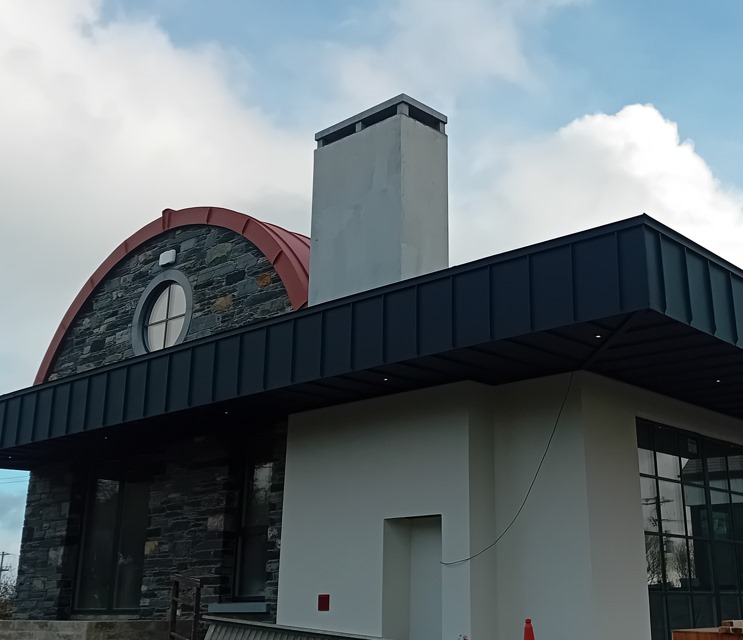
Finished outside.
Installation, step by step
Set out
Positions are marked from the agreed drawings and checked for level, door clearance and any services in the wall.
Fix the frame
Steel brackets are anchored into the wall structure using fixings suited to the wall type — block, brick or timber frame.
Fit the deck
The deck is fixed to the frame and set to a slight fall so water always runs away from the wall.
Waterproof
The membrane is laid over the deck and turned up at the wall to form a continuous seal.
Clad in metal
The pre-folded powder-coated panels are fitted, seams locked, and the front fascia and drip edge formed.
Flash & seal
The upstand is flashed into the wall and sealed. Soffit panels close the underside for a clean finish.
At a glance
- Outer finish
- Powder-coated folded metal
- Profile
- Flat or standing-seam top, box or tapered fascia
- Underside
- Closed metal soffit
- Waterproofing
- Membrane beneath metal, upstand flashing at wall
- Structure
- Galvanised steel brackets
- Drainage
- Built-in fall to a front drip edge
Specifications vary by project and are confirmed with your quote.
Ready to price your canopies?
Send sizes, colour and quantity — we'll come back with a quote and timeline.
Request a quote →